1.2. Add target image
lun, 19/01/2015 - 21:26
Click on "Add target", and select a target image file from your device. (You may wish to first check the FAQ item "What kind of target images I can use in TARAN?")
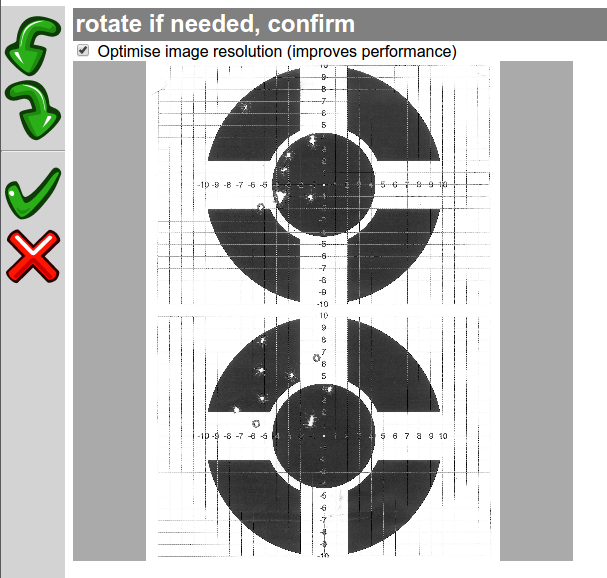
What you see here is a scaled-down preview of the image, just to set correct orientation; don't worry, you will see many more detail in a minute.
The checkbox "Optimise image resolution (improves performance)" does what it says -- downscales the image to max 2048 pixels in largest dimension. Modern cameras and scanners by default produce very high image resolution, which is not necessary for target analysis, but requires a lot of memory to process, slows down operations and makes huge save files. I would recommend to leave the checkbox on, unless you absolutely want to... well... I have no idea why one would want to keep the original resolution (but the option is there). Optimising the resolution is especially important for handling projects with many target images on low-memory devices, such as tablet computers.
If the image is sideways or upside-down, rotate it using the toolbar buttons.![]()
![]()
When happy, click confirm![]()
(or cancel to discard this image)![]()
NOTA BENE: make sure the image is correctly rotated before proceeding. Once the image is added to the project, it is not possible to change its orientation; the only way is to remove it from project and add again.